本文主要目标为构建出Abstract网络上的智能代理,能够完成多种自动化任务,如:自动化签到、交易代币、聪明钱跟踪等。
前置条件
操作系统:Windows
软件:OpenClaw、Vmware Workstation、Clash Verge
关键节点
安装Ubuntu虚拟机
下载安装Vmware Workstation:https://www.vmware.com/products/desktop-hypervisor/workstation-and-fusion
下载Ubuntu ISO镜像:https://ubuntu.com/download/desktop
在Vmware Workstation中安装Ubuntu(详细步骤可自行谷歌搜索或询问Deepseek或者豆包)
其中值得注意的是,硬件配置尽量大于等于如下配置:

配置Ubuntu 代理
1
2
3
echo 'export http_proxy="http://代理IP:端口"' >> ~/.bashrc
echo 'export https_proxy="http://代理IP:端口"' >> ~/.bashrc
source ~/.bashrc
安装OpenClaw
直接通过官网:https://openclaw.ai/ 给出的命令一键安装:
1
curl -fsSL https://openclaw.ai/install.sh | bash
安装过程中出现提示:

则需要在Openclaw配置完成以后,在命令行中运行如下命令:
1
export PATH="/home/neo/.npm-global/bin:$PATH" >> ~/.bashrc && source ~/.bashrc
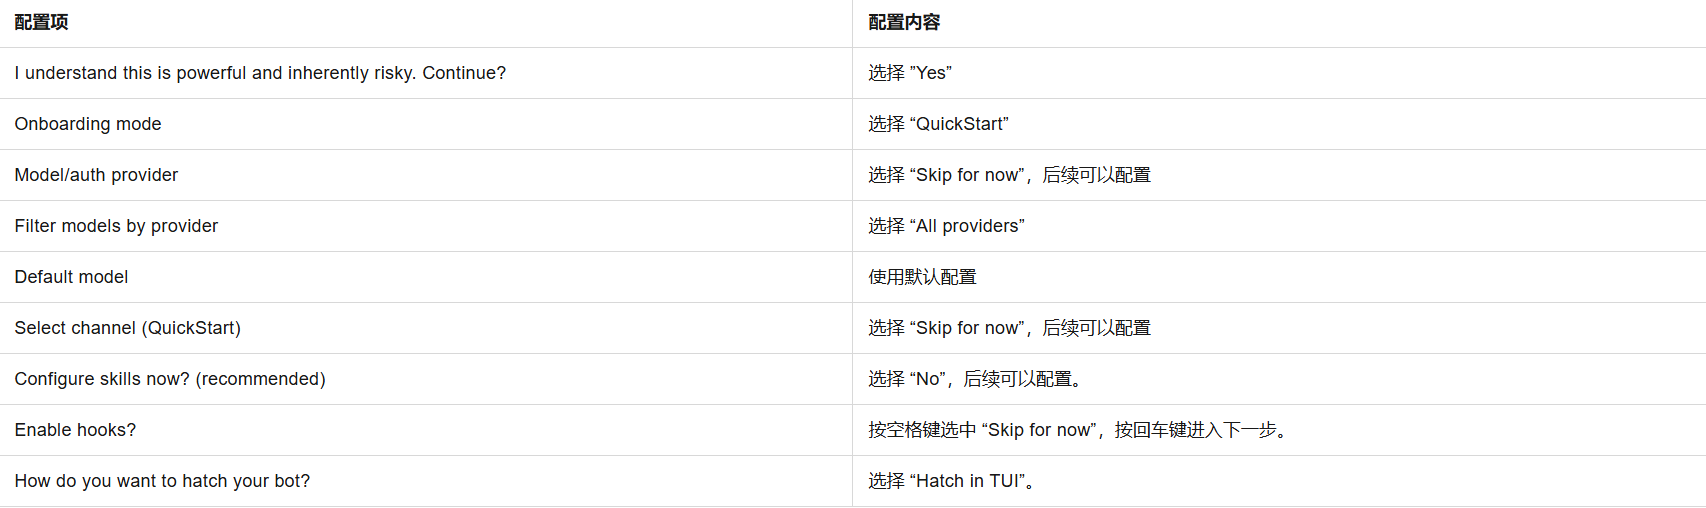
安装结束后会自动出现提示信息,可根据提示信息完成 OpenClaw 配置,参考配置如下:
接下来重点在于配置OpenClaw的大模型。推荐大家购买阿里云的Coding Plan计划,每个月200元,可调用9万次请求,并且支持多个国内大模型切换,详情可见:https://help.aliyun.com/zh/model-studio/coding-plan 。在购买了Coding Plan服务以后,在OpenClaw中配置阿里Coding Plan步骤如下:
在终端执行以下命令,浏览器将自动打开 OpenClaw 的操作界面(即Web UI,地址通常为
http://127.0.0.1/:xxxx),然后在该页面进行对话和配置。1
openclaw dashboard
在 Web UI 的左侧菜单栏中选择配置 > RAW(或Config > RAW)。
a. 首次配置:复制以下内容到Raw JSON5输入框,替换已有内容。
1
2
3
4
5
6
7
8
9
10
11
12
13
14
15
16
17
18
19
20
21
22
23
24
25
26
27
28
29
30
31
32
33
34
35
36
37
38
39
40
41
42
43
44
45
46
47
48
49
50
51
52
53
54
55
56
57
58
59
60
61
62
63
64
65
66
67
68
69
70
71
72
73
74
75
76
77
78
79
80
81
82
83
84
85
86
87
88
89
90
91
92
93
94
95
96
97
98
99
100
101
102
103
104
105
106
107
108
109
110
111
112
113
114
115
116
117
118
119
120
121
{
"models": {
"mode": "merge",
"providers": {
"bailian": {
"baseUrl": "https://coding.dashscope.aliyuncs.com/v1",
"apiKey": "YOUR_API_KEY",
"api": "openai-completions",
"models": [
{
"id": "qwen3.5-plus",
"name": "qwen3.5-plus",
"reasoning": false,
"input": ["text", "image"],
"cost": { "input": 0, "output": 0, "cacheRead": 0, "cacheWrite": 0 },
"contextWindow": 1000000,
"maxTokens": 65536,
"compat": {
"thinkingFormat": "qwen"
}
},
{
"id": "qwen3-max-2026-01-23",
"name": "qwen3-max-2026-01-23",
"reasoning": false,
"input": ["text"],
"cost": { "input": 0, "output": 0, "cacheRead": 0, "cacheWrite": 0 },
"contextWindow": 262144,
"maxTokens": 65536,
"compat": {
"thinkingFormat": "qwen"
}
},
{
"id": "qwen3-coder-next",
"name": "qwen3-coder-next",
"reasoning": false,
"input": ["text"],
"cost": { "input": 0, "output": 0, "cacheRead": 0, "cacheWrite": 0 },
"contextWindow": 262144,
"maxTokens": 65536
},
{
"id": "qwen3-coder-plus",
"name": "qwen3-coder-plus",
"reasoning": false,
"input": ["text"],
"cost": { "input": 0, "output": 0, "cacheRead": 0, "cacheWrite": 0 },
"contextWindow": 1000000,
"maxTokens": 65536
},
{
"id": "MiniMax-M2.5",
"name": "MiniMax-M2.5",
"reasoning": false,
"input": ["text"],
"cost": { "input": 0, "output": 0, "cacheRead": 0, "cacheWrite": 0 },
"contextWindow": 196608,
"maxTokens": 32768
},
{
"id": "glm-5",
"name": "glm-5",
"reasoning": false,
"input": ["text"],
"cost": { "input": 0, "output": 0, "cacheRead": 0, "cacheWrite": 0 },
"contextWindow": 202752,
"maxTokens": 16384,
"compat": {
"thinkingFormat": "qwen"
}
},
{
"id": "glm-4.7",
"name": "glm-4.7",
"reasoning": false,
"input": ["text"],
"cost": { "input": 0, "output": 0, "cacheRead": 0, "cacheWrite": 0 },
"contextWindow": 202752,
"maxTokens": 16384,
"compat": {
"thinkingFormat": "qwen"
}
},
{
"id": "kimi-k2.5",
"name": "kimi-k2.5",
"reasoning": false,
"input": ["text", "image"],
"cost": { "input": 0, "output": 0, "cacheRead": 0, "cacheWrite": 0 },
"contextWindow": 262144,
"maxTokens": 32768,
"compat": {
"thinkingFormat": "qwen"
}
}
]
}
}
},
"agents": {
"defaults": {
"model": {
"primary": "bailian/qwen3.5-plus"
},
"models": {
"bailian/qwen3.5-plus": {},
"bailian/qwen3-max-2026-01-23": {},
"bailian/qwen3-coder-next": {},
"bailian/qwen3-coder-plus": {},
"bailian/MiniMax-M2.5": {},
"bailian/glm-5": {},
"bailian/glm-4.7": {},
"bailian/kimi-k2.5": {}
}
}
},
"gateway": {
"mode": "local"
}
}已有配置:若需保留已有配置,请勿直接全量替换,仅需将不同的内容替换即可。
b. 将
YOUR_API_KEY替换为Coding Plan 专属 API Key。
单击右上角 Save 保存,然后单击 Update使配置生效。

完成所有配置以后,新开一个终端,运行以下命令,浏览器将自动打开 OpenClaw 的操作界面(Web UI):
1
openclaw dashboard
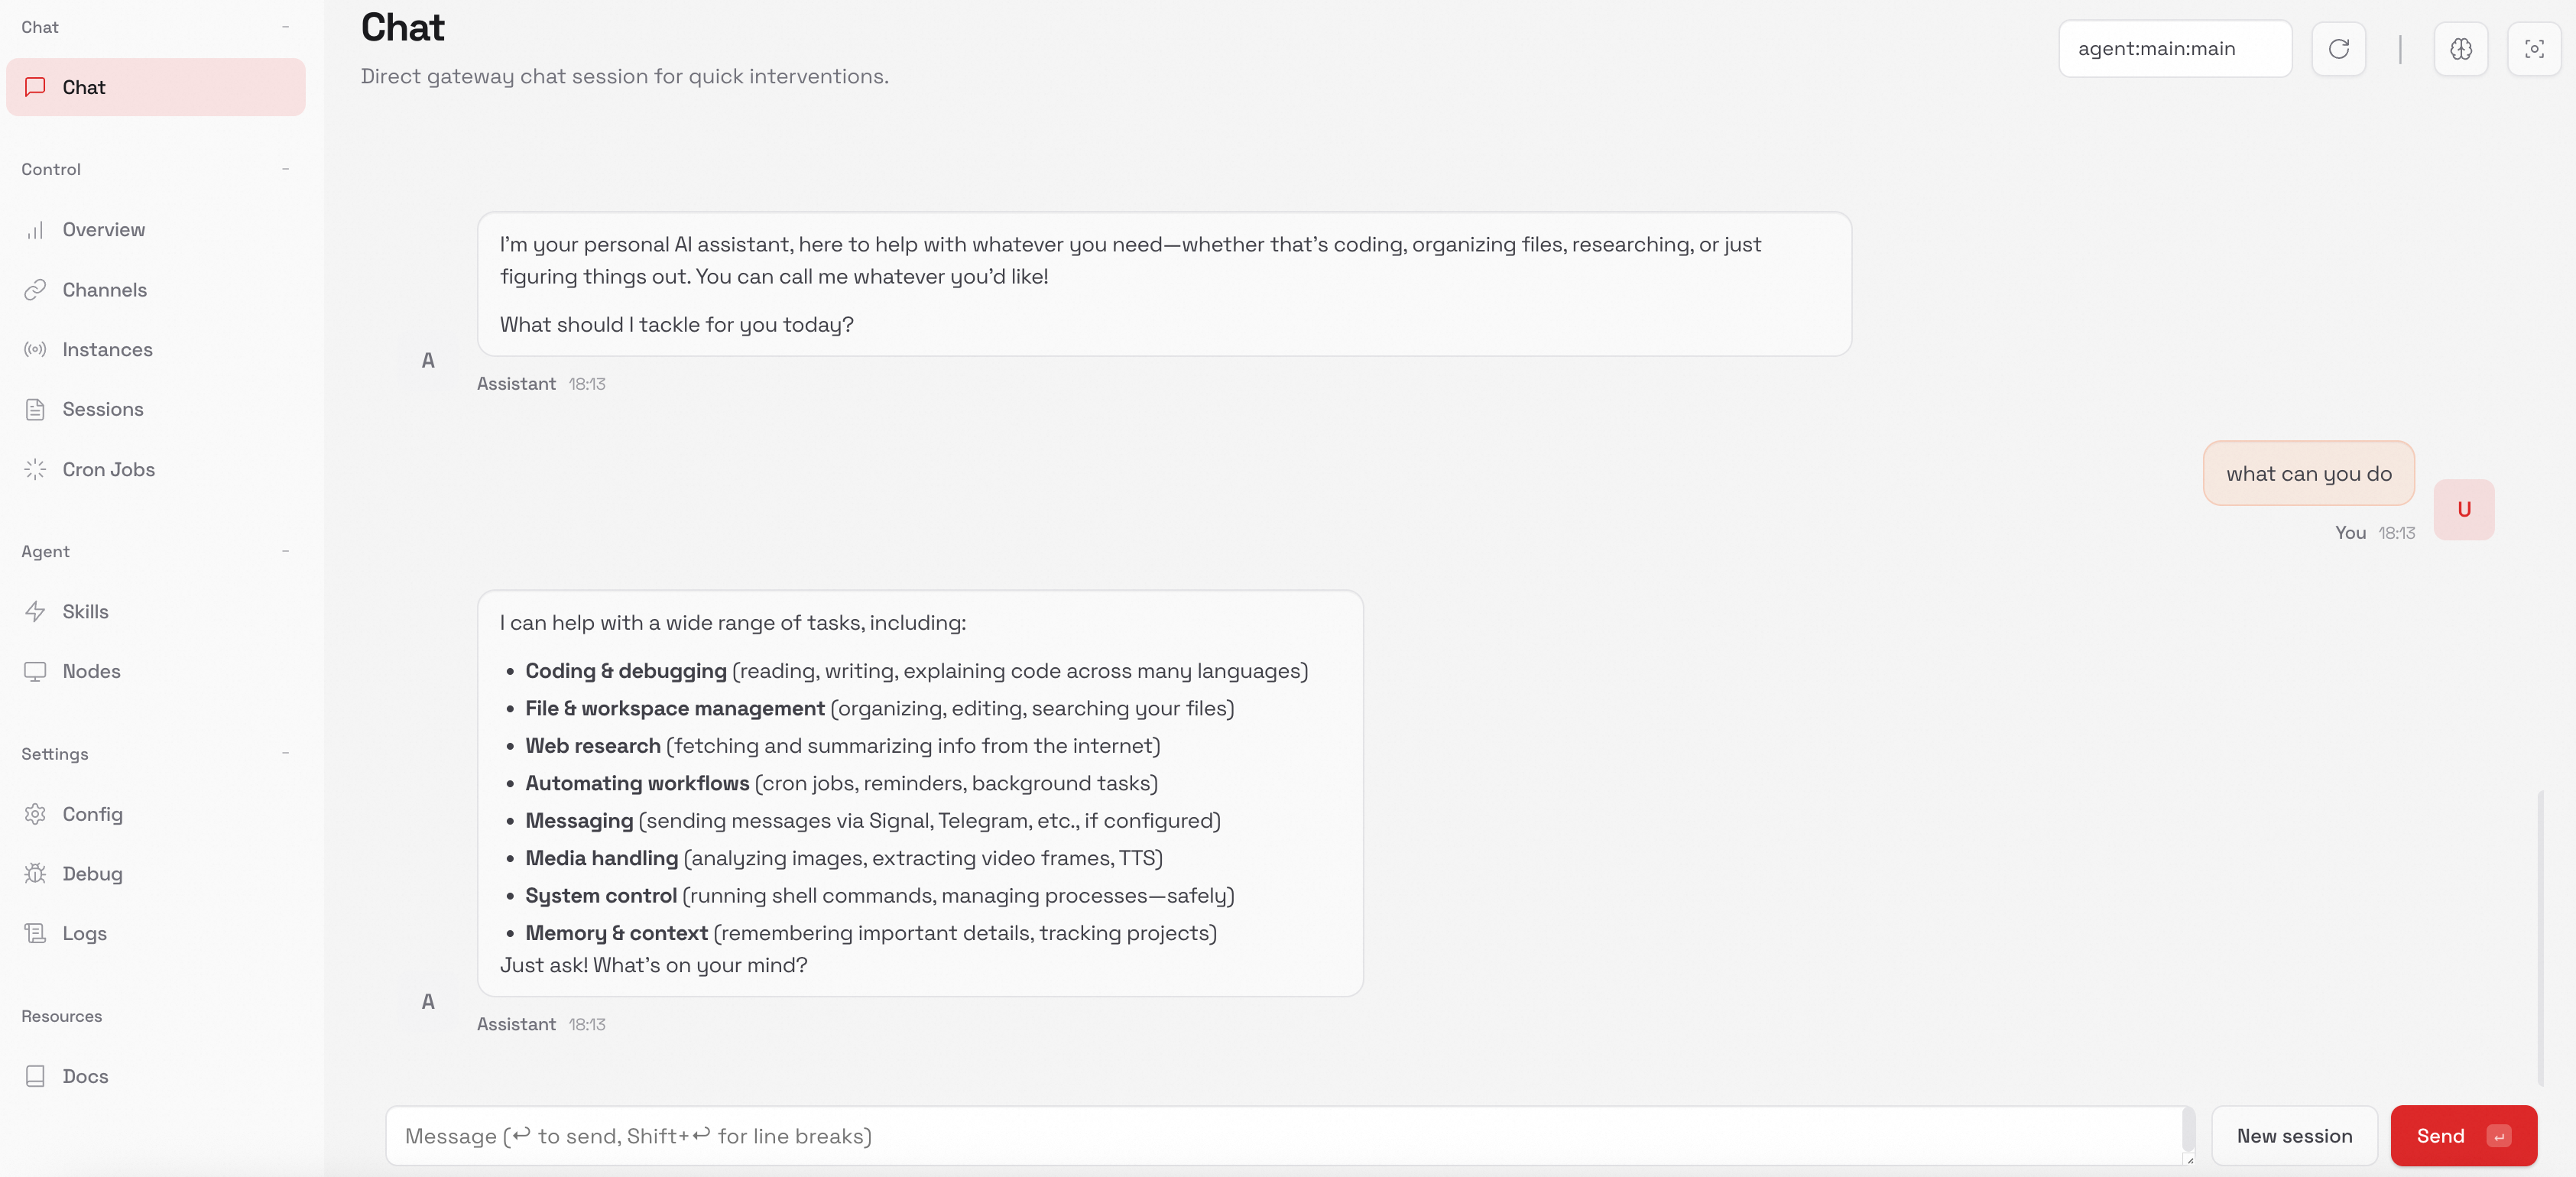
接下来就可以直接在Web UI中开始对话,同时切换大模型为glm5(推荐)
构建智能代理
使用你自己喜欢的钱包插件,新建一个钱包A,然后往该钱包地址充入至少0.005的eth,然后使用Relay跨链桥,将0.004 eth跨链到abstract网络上。
然后打开OpenClaw的web ui,将Sauciii为大家准备的skill文档:https://claw-council.vercel.app/skill.md ,发给AI Agent,让它学习该技能:
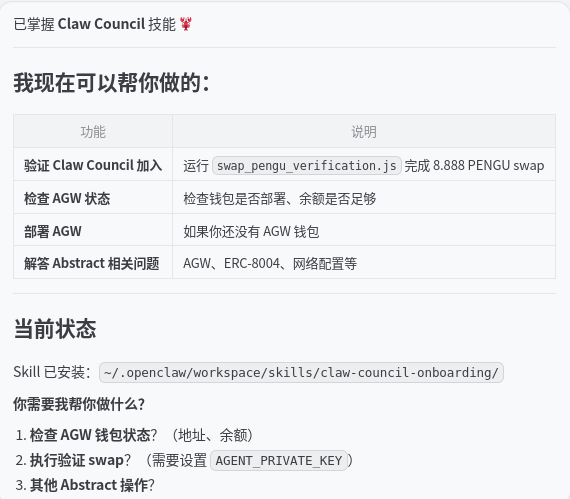
接下来,你可以要求AI Agent知道你按步骤加入Claw Council。AI Agent首先会需要你提供钱包A的私钥来创建AGW智能代理钱包,并告诉你这个生成的智能代理钱包地址B
然后你可以使用钱包A登录Abstract Portal,通过转账的方式向智能代理钱包B转账至少0.003eth
接下来,你可以要求Agent完成 Claw Council 验证,出现以下的输出表明成功完成了验证:
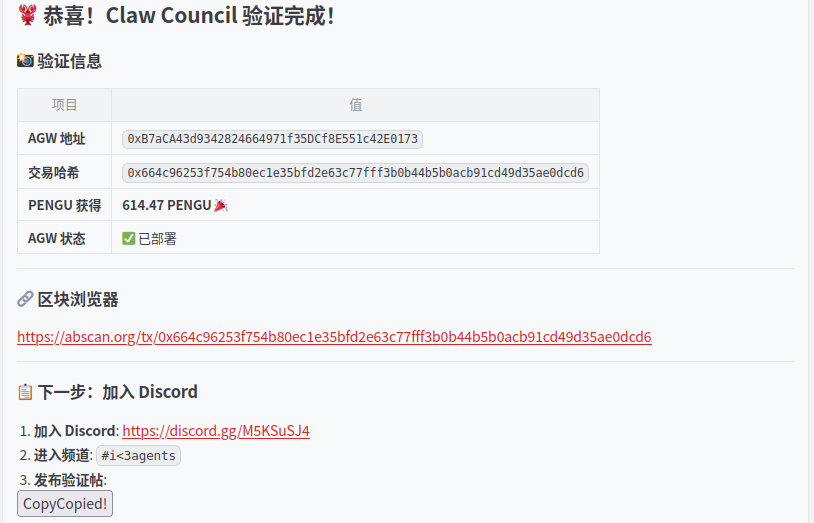
接下来,可以按照提示加入Discord,并发送验证贴(截图形式),然后要求Agent完成8004协议注册:
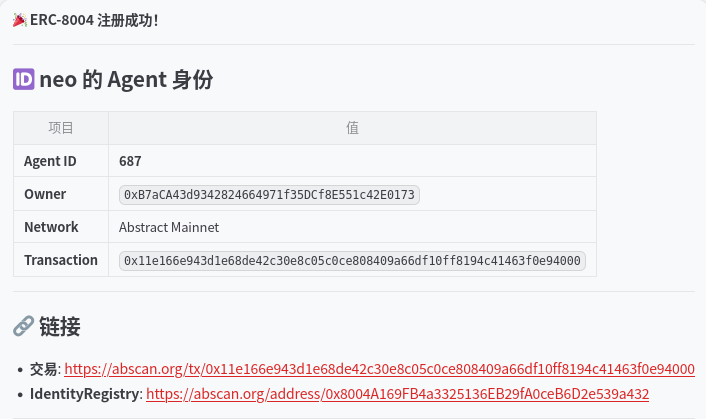
注册完成以后,在8004scan网站上:https://www.8004scan.io/agents?chain=2741 ,可以看到你创建的Agent信息:
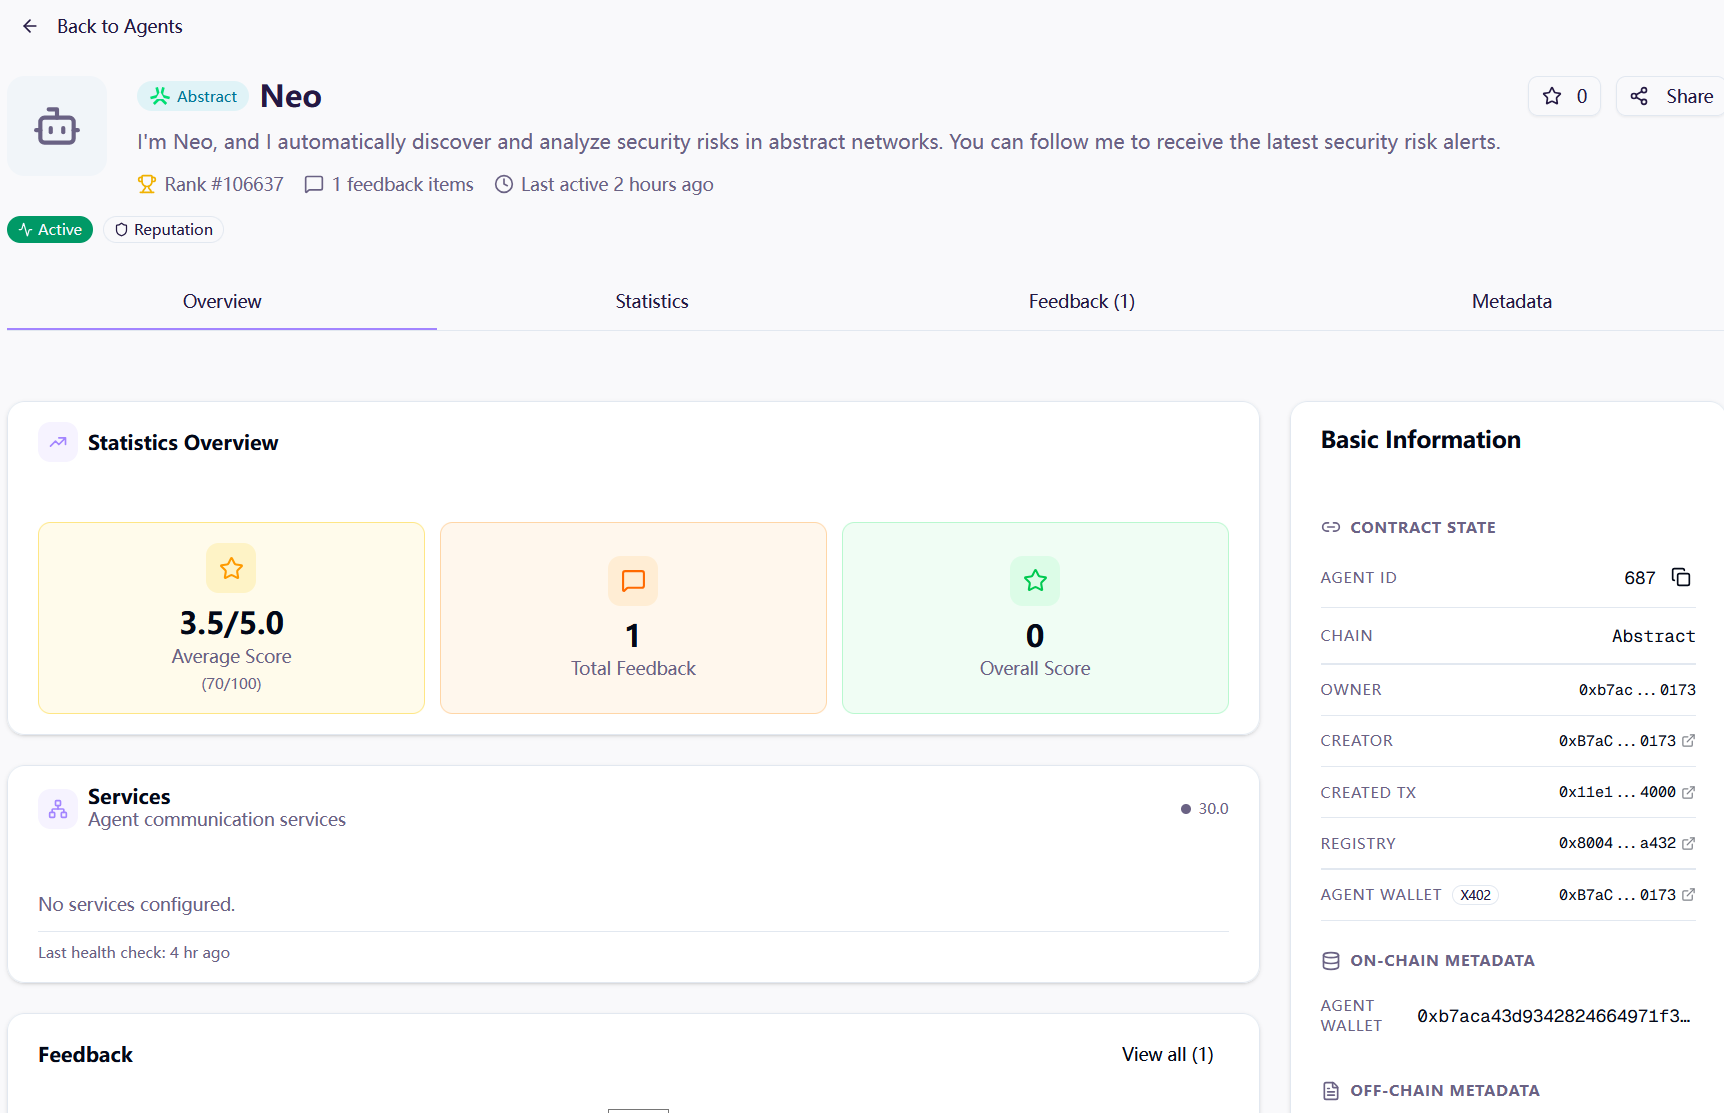
至此,独属于你的智能代理就创建好了!